
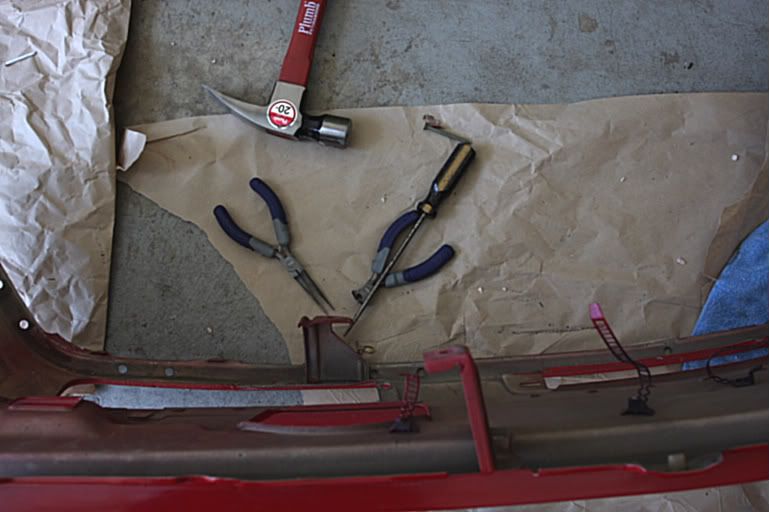
Banging on a freshly painted body panel isn't for the squeamish. Thankfully everywhere that got dinged or nicked was on the backside or would be covered up by some 'vehicle trim' once everything was back together. I should have done these repairs before paint, but live and learn. Now that everything on the apron was good to go, I could line it up for installation.

Sliding the apron into place was a tricky proposition until I used my noggin and grabbed the car jack and some wood. I made sure to semi-tighten a couple screws on opposite sides until I had the majority of the attachment points lined up good. I ended up having to do a little more metal massaging and maneuvering to get things just right, especially where the fenders curl into the apron metal beneath the headlights.

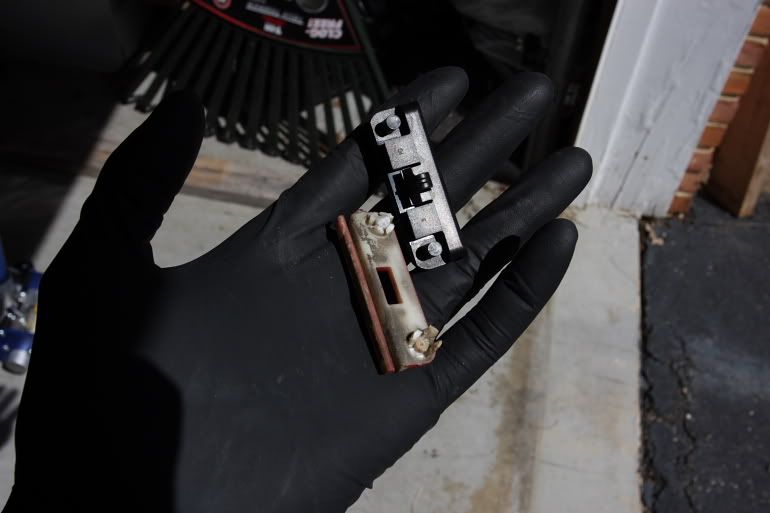
I put all the screws back where they came from after securing the lighting harness and plugging in the foglights. Then I tightened them all randomly until everything lined up just right, including the bumper guides. I then did a temporary 'couple of bolts' installation of my inner fender liner and duct panel on the passenger-side so I could get back to the bumper guides later.

I still need my new driver-side liner (ordered) so I just mocked up the driver-side brake duct panel in the same manner. A sigh of relief came when the wheels were back on and I could get off my temporary jack stands. It's now ready to go into the shop for service.
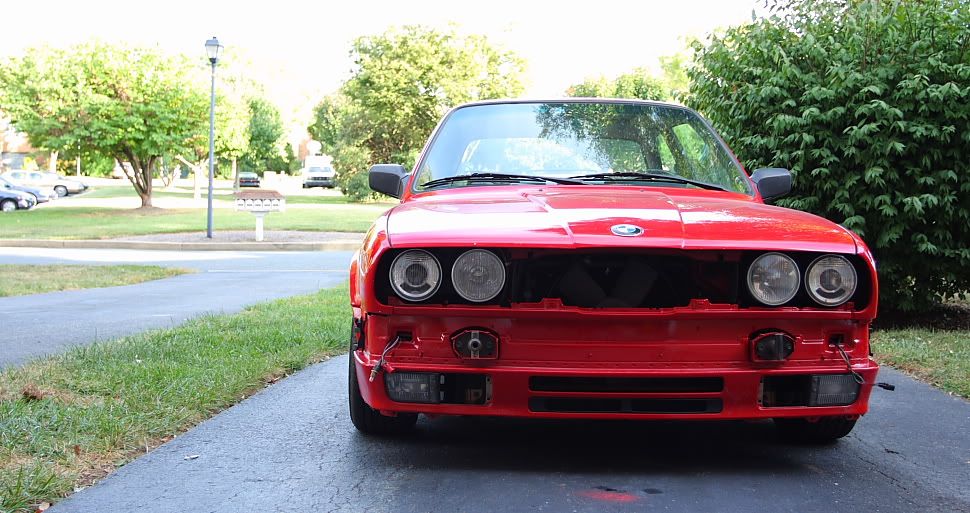
It'll be getting a new guibo and center driveshaft bushing installed along with my lower mileage GutenParts acquired 3.25LSD that's been sitting in my garage since February. All of these changes should help with the racket I currently hear backing up, among others, during slow speed driving. I'm also looking forward to seeing the difference between this and my peppy 4.10LSD for daily driving usage as well as mpg. I hope I don't miss the short gearing too much; chirpin' second is fun.
No comments:
Post a Comment