Showing posts with label the red coupe. Show all posts

Tuesday, March 19, 2013

The Red Coupe - Next steps.

After several weeks of assessing the future of the red coupe, I've come to a couple decisions. For one, I'll be better off finishing some major repairs before any potential sale in order to get max value. There is only one thing in the air currently and that is the full respray decision. In lieu of an engine bay/door jam/exterior respray there are a few more pressing matters of expense. The a/c system is in need of an overhaul. After three years of painless function, outside of the blower motor which has gone down hill, the heater core has finally reached the end of its effectiveness. Steamy windows in the winter and other cues have lead to the system being bypassed all together. Now you may say that no heat in the middle of winter is a rough road to walk, but I did myself a favor and finally got a replacement car for my wife's rusty Mazda Protege5; a 2013 Jetta Sportwagen S. Her rusty Mazda, which was the other half of the repair headache at home, is now patched up for the rest of it's life as my daily driver so that I can focus on the red coupe without interruption (and more importantly a need for a rental car). So now that I have a car with heat (knock on wood), and working windshield washer nozzles, I can focus on parts collecting and repairs.

The first on the list of things to get addressed as I stated is the heater core, valve, pipes, grommet for the pipes and associated o-rings. I first tried to go through my repair shops parts suppliers, but apparently the heatercore valve is a rare commodity. An April ETA through the dealer pushed me online and after some mild searching I found a NIB (plastic inlet) heatercore and valve for about half the cost of oem msrp. I have a few more parts needing to be collected for this, including a new fan assembly, which aren't cheap by any means but will give me a car capable of being called turn-key in anyone's eyes. The cooling side of the air conditioning is another question mark; I believe what came with the car was R12, which is treated like a controlled substance and expensive, but conversion to R134 is not worth the money. I've received mixed information on what the 89' 325i A/C system was capable of so that'll need to be figured out before getting either an R12 replacement charged or a traditional R134 charge. I think it'll need to be a 'synthetic' R12 charge.

The next on the list is the cluster; I've run into several cooling system abnormalities over the past month or two which actually lead to the discovery of the problematic heatercore; my coolant temp gauge has been dancing into the red since an 15 degree morning in January not too long ago. At first I thought I had too much purified water in the system and that was causing me blockage issues, then after a flush the problem didn't go away. Further investigation proved that my clutch fan was toast so that was replaced, along with the thermostat, but my gauge still danced from time to time. I found myself researching solutions, in order to rule out other issues that may be affecting the readings, and that lead me to the infamous cluster SI board. While I am handy I've never been good at soldering. Refurbishing a SI board requires reflowing the major solder pathways on the SI board as well a soldering in new batteries. A bit more digging found me an electrician who started a small service restoring SI boards for a reasonable fare. I picked up the SI board for the repair a couple weeks ago. I have a spare motormeter cluster that I should be able to pillage to repair my VDO unit to like new (functionally anyways). It'll be nice when my cluster is sorted.

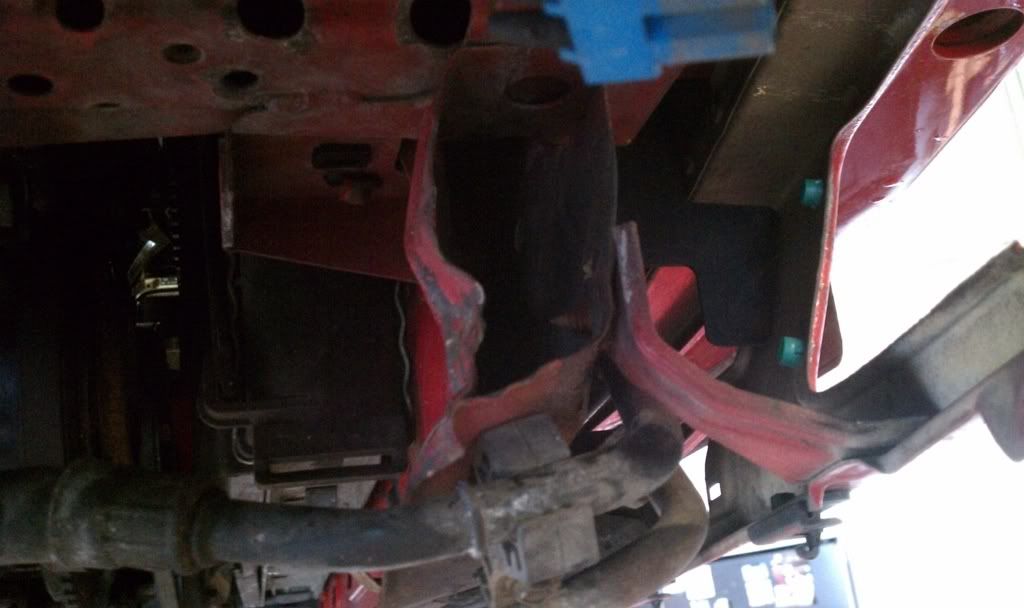
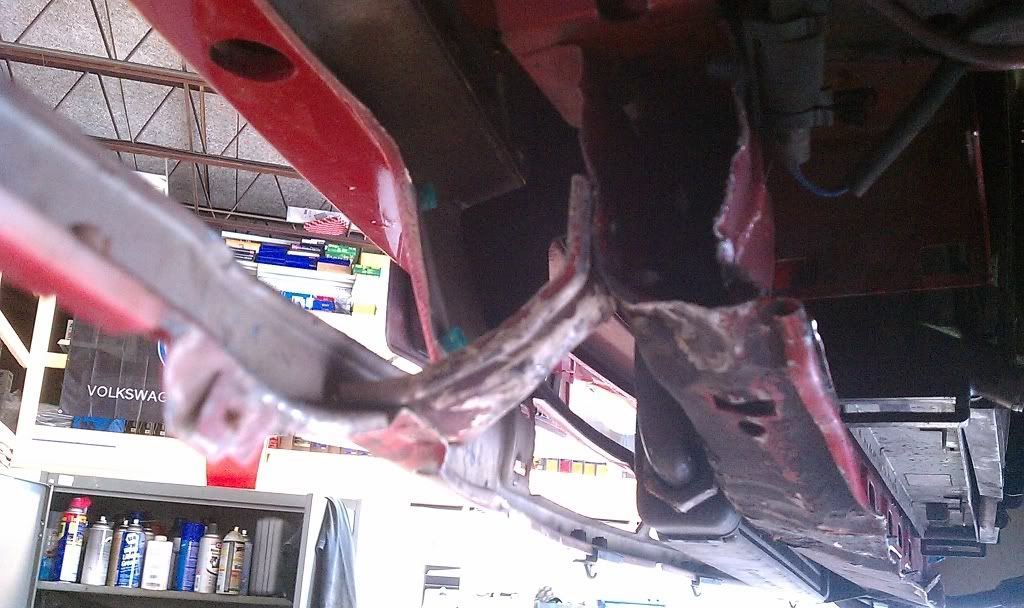
At this point I have the original damage the front rad support had when I bought the car and my later deer-encouraged damage. Despite my best efforts both events left me with a rad support far from straight enough for my panels, let alone for the headlights and bumper fitment. I found the part numbers for the front rad support on realoem and pricing for the entire support isn't terrible (relatively). Plan being is if my body shop can come up with a solid rad and cut it out for the swap for less than buying one, fine, but if I need to source it, cool. Once the rad support is patched and the front of the car is true, I'll put my spare hood and previously acquired hood mounting bits on the car to complete the front end. Next on the bodywork list is the trunk, which is severely rusted at the pinch weld, then the rusted sunroof panel; I have a spoiler-less replacement trunk, but the sunroof panel needs to be replaced. Then there's minor, but important not to ignore, rust needing addressing in the door jams. I think you get the idea that the respray is almost a forgone conclusion; I need funds to do so though, as the mechanical repairs aren't cheap. Hopefully I won't have to sell any wheels, but in case I do I put the show wheels on the chopping block. If they sell, great. If they don't sell before the car is done, these two crazy kids can be reunited. This is really a matter of the speed in which I can get the bodywork finished.

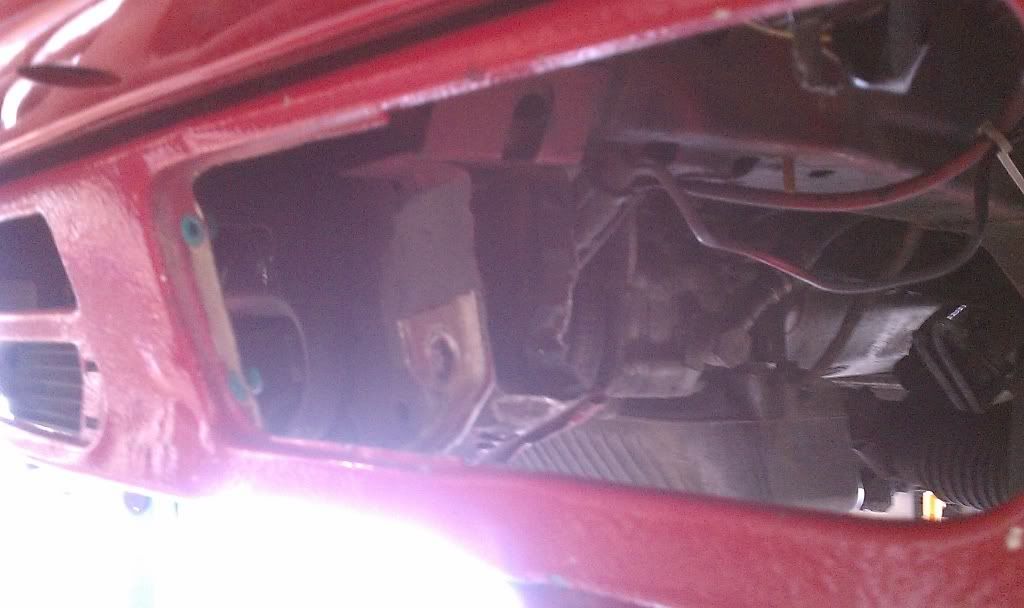
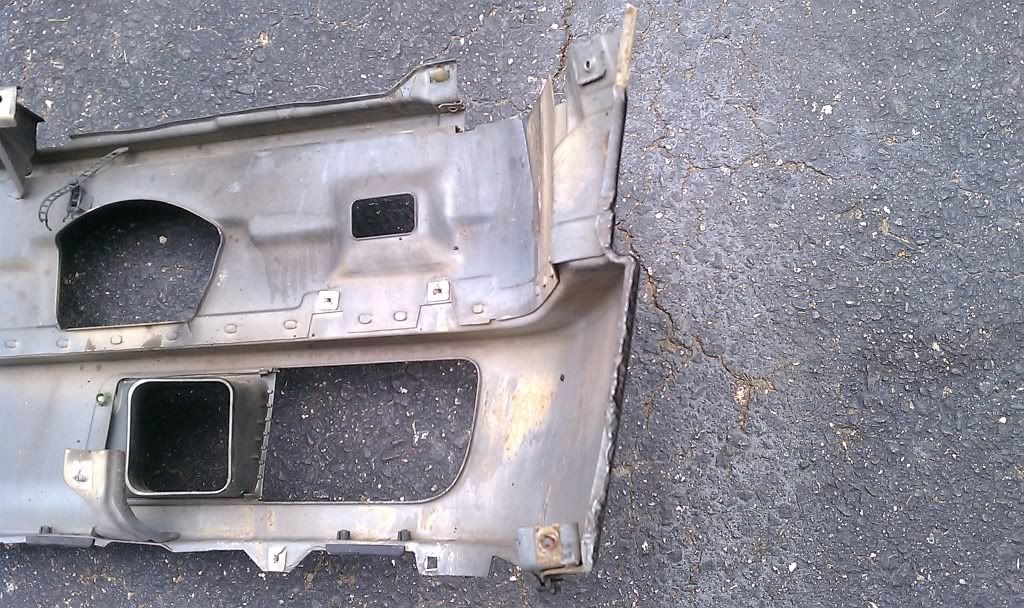
In the meantime I'm just collecting parts for the above repairs, and gathering funds for the other cosmetic repairs; redone headliner (need the windows removed for the job) and replacing window, trunk and sunroof gaskets...there's also my spare dash that needs to be installed. That's the latest; I'll pick this back up once the repairs start gettin' on. With pictures.

Monday, May 14, 2012

GTGs: Cars and Coffee 4.21.12

For the longest time now I've gone online to forums and the like to see people pictures from Cars and Coffee events around the country. The great thing about these events is that you get a large variety of makes, models and model years, including the equally wide-range of aged people that into all of said cars. Corvette guys in this group, muscle car guys in that group, imports, german tuners, rare european classics, etc., etc.


Flash forward and I finally got to attend one a week or so ago. A good friend of mine dropped me a line asking if I was up to going to the one local-ish to him in Hunt Valley. For those that don't know, Cars and Coffee events run from about 7:30am - 10am. This is great for everyone as you can get in and out of there before your day really starts, take your baby out of the garage to get the fluids hot, and hang out with friends, associates and newcomers that all are into the same thing. For years I would've never got up at 6:30am to go to any event regardless of what it was, mainly due to the work schedule I had (working nights, mornings and everything between). Fortunately, I recently switched jobs and began getting up at the ascrack on a daily basis, so it wasn't the life changing event that it would typically be. That and we agreed to meet up at 8am to caravan over to the Hunt Valley shopping center (Maryland), so that helped too.


I just washed the red coupe earlier that week for the first time since January (post pending), so regardless of my deer-dent, I was happy to have drive it out on a great sunny spring day. We arrive at the shopping center in Hunt Valley around 8:30am. According to regulars the turnout wasn't as big as it was the week before, but there was still a good amount of cars out to play. I'll let the pictures speak for themselves, but my favorite of the day was a so-fresh and so-clean black on tan ~67' Mercedes 230SEL convertible. The owner was cool as sht, as was his son, and I took plenty of snaps and a little video (coming soon).


We won't be hitting this event up every week, but when we do I'll post up. Here's the album location to check for going forward. And yes, this will be the only capacity in which american cars will show up on this blog ha.

Our small crew.

This day actually got a little better after the GTG was over. My friends and I grabbed breakfast at Chick-Fil-A, then I bombed up I-83 to Hershey (PA) for the CPA-PCA Porsche Swap-Meet. Look for a post on that in the coming week.

Monday, January 23, 2012

The Red Coupe - More Repairs

I believe the last I left with this project I had gotten the new motor swapped in and was driving around with it. I hit a raccoon, then got that fixed. I was missing a few clips from the front apron trim, but finally had the car back to the condition it was in prior to the raccoon, with a trip to Bimmerfest East a couple of hours away (and Vagfair a week away). Bimmerfest East was literally up the street which was nice, so I was able to get up there without putting much dirt on the car after washing it the night before. I enjoyed the show, got plenty of compliments (as the e30s in attendance where pretty beat) and got on about my business before Vagfair.

The work week before Vagfair went by as usual, driving home nightly as I always do. I had Friday off for prep so Thursday evening came around and I left work happy, looking forward to a nighttime cleaning session, but little did I know I'd be in for quite the treat. I was driving northbound on Rt.29 and apparently it had been a pretty slow traffic night. I found myself coming over a blind arching hill to suddenly staring down a young deer in the slow lane. The deer was just standing around like it was waiting for the bus. Well the bus didn't come. I got on the brakes early enough, but the deers' indecision on which direction to run lead to me hitting it square in the ass. I spun it around towards the passenger side of my car where its head smacked my mirror into the closed position. I pulled over and quickly assessed the damage. My headlights were still working, but the passenger light frame was snapped pointing its beam towards Orion's belt. The hood was bent in above that light, but my newly refurbed apron and bumper wasn't touched. Knowing how bored the Troopers and Baltimore City transit cops are, so I'm glad there was some kind of light coming out on both sides. Bad news was my driver headlight was always the worst (output-wise) of the two, so vision while driving home was dicey at best. Miraculously I passed transit cops without getting lit up, made it back to Harford County pretty deflated and stopped at the gas station to get a better look at things. I had all of one day to fix it before driving to PA the following night for Vagfair and I wasn't so sure things were going to work out.

You can see the problem area on the right side of the hood bracket and rad support.

The following morning came and I got all my spare parts together. I had a set of headlights I bought to replace my existing units (still thanking the stars I didn't install my stashed smoked ellipsoids on the week before) so I took out the passenger spare to swap parts. I took the front end apart, got the wife outside to help me remove the hood, then took a rubber mallet, my hammer and some prying tools to get things back into shape. I had to put some serious work in, but afterwards I had a headlights that were much better at lighting the road than before, my US grills back in and a crumpled hood that at least latched closed for the time being. I made it to York to stay with friends that night and washed it as clean as I could.

Finished product.

Fast forward to right now, the hood still looks the same as it did in August, as I moved on to more pressing issues. To most it may not look that bad, but the front end is tweaked so much I can't put oem kidneys on without broken tabs and zipties. Since going through the winter does so much damage to the paint anyways, there was no point rushing to get a spare hood installed to find out how bent the hood hinge and front rad support was. In the meantime I'll be sourcing a spare hood for whenever I figure out what I want to do with the front end, and the paint overall. In the more pressing issues department, my front caliper seized on me, which lead to replacing the front two calipers as well as all the rotors and pads. My vapor barriers were letting the torrential East Coast rains into my lovely cabin, and my trunk was leaking through my spoiler holes among things. I also had the driver door lock cylinder seize up, so I was opening the car from the trunk for several weeks. I later had the cylinders refurbed by my friends at Euromotive a month or so ago. While I was at it, I bought new door and taillight seals, then had Euromotive modify my trunk spoiler so it was water tight. I still don't have a perfect vapor barrier replacement, but I repaired them with packing tape in the problem areas to hold me over until I can figure out a good long term solution.

I should've done a better job removing the old dirt from the surface before installing the barrier material.
This worked for about a month or so, unless the a really heavy rain a couple weeks back.
My instrument cluster still has faulty odometer gears and I plan on getting down to business with that shortly, but as I'm sure everyone can understand, when life throws a ton your way, working on the car drops to the bottom of the priority list. The saving grace of this chariot is that driving it has been as awesome as it's ever been. It's truly a joy to drive 100+ miles a day and fortunately it has zero issues keeping me from driving it everywhere. The list of things I want to have done are mighty long, but cost-wise I'm still trying to weigh what's going to be worthwhile. On the table are the following plans:

Plan A

  • thorough body restoration, highlighted by a rad support repair and respray including door jams, engine bay, new door trim, oem 'IS' decklid, oem shadowline, i.e. legit
  • replacing all clamps and aged reservoirs on the M20 (never got around to doing so during the swap)
  • interior refurb with new headliner, sunroof seals, front seat rewrap
  • new coils (unless rear perches can be un-seized)
  • powder coated calipers all around
  • MAF conversion, schrick cam, #17 injectors (already have them), headers, tune
  • no longer a daily driver
Plan B

  • minor body repairs; nused hood, new hood bracket
  • MAF conversion, hot cam, #17 injectors, tune
  • long tube headers, no cats
  • roll cage
  • take it to the track/auto-x
Plan C

  • continue to be daily driver
  • fix what's needed per usual and try getting around to the hood fix in the spring
Plan D

  • minor body repairs; nused hood, new hood bracket
  • sell to fund another RWD project
Guh. In the meantime, I got outside in the cold the week before last and put the steelies/winter tires back on. Winter is behind by at least a month in the Mid-Atlantic area, which has been great for my electric bill, but I sure mother nature will try to pay it back two fold in the remaining two months before Spring.

Monday, August 1, 2011

The Red Coupe - Details, Details, Details Pt. 6

Have you ever been working on your car and got a big wiff of deja vu? Well this weekend sure delivered that aroma for me. I was replacing my front apron for the second time in two years; I really hope I don't have to go through this again. There is good news though, my experience from last time has put me on a new level of speed for performing the job. Last time around the work spread over two days. This time around I wrapped it up from kidney grill removal to reinstalling front wheels in about 4.5hrs...with breaks as the summer sun was strong.

I had been on vacation for a few weeks, but before I left I'd gotten my resprayed front apron, spare front bumper and new IS lip from my bodyguy Jason. He'd removed the texture from the replacement front apron you saw in this post, and painted everything zinnobar. This time the mix came out a bit darker than my last painted apron, which actually was a closer match to my original paint (waxed ha). Any of you who have mixed paint before know that matching red is a bitch. Learning from my previous lessons, I removed all clips and grommets prior to getting the apron painted which helped a great deal this time around.


I started off putting all the lip clips on the new apron and cleaning my spare turn signal housings; going forward I plan on using this new bumper for summer duty and my existing front bump to manage the annual grind. As such I have new turn signal lenses, new us-spec front trim and tow hook hole (I have euro trim in a box, but i like the US trim...mmm trim) for this bumper as well as new front side markers to round out the refresh. Unfortunately due to a mix up I didn't get an order of front lip clips, but those will arrive this week sometime. I had 4 stashed from last year so I put them into the areas hardest to get to once the apron is installed.


One thing I did forget was getting green grommets for the ducts and oil cooler vent, but I found out again for the first time that you can gently remove them and get more than one use out of them. The same goes for the push tabs that the foglights screw into. I had my original apron in the garage so I salvaged that for some parts and the rest I got from my current apron after removal. Spares are a wonderful thing, if you have the room. Learning from last year, I did all my apron work inside the house in lovely air conditioning. I also put the turn signals and lenses, fully assembled, on the bumper from the inside (doing it from the outside leads to...paint scratching) and after those were on installed the bumper trim. I learned something about this new bumper right after buying it; it was true as an arrow. This made the trim installation happen without a rubber mallet like last time.


Once the apron and front bumper were as complete as they could be (the ducts would have to come off for the lower two attachment points), I got the car up on some handy car jacks and got to work. After the inner wheel well duct panels are removed, there are 14 screws and some clips that keep a harness bundle from swinging into the auxiliary fan...that's it.


When installing everything I learned that I need a new kidney grill, because the impact of the raccoon at 70mph not only broke the filaments in both foglight bulbs and bent the inner apron mounting framework like a cheap spoon, but it also broke the lower clip fingers on the kidney grill. I remedied this development with a zip tie until I get my next order of parts in. The second interesting thing I learned was that the contour of this new apron is slightly off on the driver side, by about a centimeter or so, so attaching the new inner driver-side brake duct panel took some improvisation. All in all, the new aprons fitment visually is better than the last time around. It's times like this when I consider garaging the car.


I threw a coat of matte black paint on my spare oil cooler vent and installed it after the pic above. Now all I need is the lip clips...and a new bulb socket for my driver-side sidemarker, because I currently have to wiggle the bulb just right to get it to light up. In the meantime no lip means I can pull onto my driveway without wood planks as long as I take a good angle. After a two hour break watching X-Games, I spent the night washing the last two months of grime off both this and the grey hatch. Next on the list of to-do's is the odometer that took a crap a few weeks back.

Wednesday, June 22, 2011

Orbital Dreams: Single Stage Pain(t) service Pt.2

The following day I got a new orange pad out and went about applying sealant. Griot's Garage One Step Sealant is an all in one for those short on time, having both polishing and sealing properties in one go. This stuff is cake to remove with a fresh microfiber towel and the residue doesn't go everywhere like polish does (white powder). Sealant is different than wax in that it bonds with the paint surface rather than sit on top as an additional layer. The protective benefits of sealant lasts longer than wax, but doesn't look as good buffed or repel liquid as well as wax does. That said, I went with a two staged plan; wax on top of sealant.


To the naked eye in low light, a sealed and a waxed car look relatively similar. In sunlight, however, the waxed surface has much more depth. Wax is also slippery to the touch. After finishing my sealant application I let the car sit for 18 hours to let the sealant set, then the following day got my wax on in my tight garage.


The finished product is below. Color depth is great and even everywhere; there are still some minor scratches/chips and imperfections, but I'm happy given my paint is far from perfect(able). I could've done more than one coat of wax, but this took 3 afternoons with everything else I had going on. The good news is that I can easily wash and apply a couple more layers of wax without all the prep I had to do previously with a whole...I think I'll do that. While silky smooth, I could still leave a finger print on the paint surface. When you can't leave a finger print anymore, your job is done.


I can't wait for the next rain.

Tuesday, June 21, 2011

Orbital Dreams: Single Stage Pain(t) service Pt.1

The one gift and curse of this car since purchase was the paint. I've never had a single stage paint job on any car, except for the grey hatch's original factory uni-black paint job which was definitely a different animal all together. This car does a great job of cleaning up well especially due to how bright this color comes off in daylight, but due to both it's color and lack of clearcoat, is quick to oxidize once the temps warm up.


The worst thing on single stage paint is the water spots; with the almost tropical weather that sporadically occurs, in the Mid-Atlantic area, during the arrival of summer is a real pain. Strong sun, broken up by a quick and hard rain, then the sun back out as strong as ever. I get pink polka dots all over the paintwork when this has happened. I noticed this for the first time last year after getting the car setup in for H2oi. I the car parked on my driveway and after a flash rainstorm, water dripping off the side of the house onto the trunklid burned spots into the paint. I had remnants of wax on the car at the time, but not much. Well a few weeks ago it flash rained on a hot day and I got them on the roof, decklid and a little on the front hood too. I got a few days off for Memorial Day and decided to put some work in.


After washing and drying thoroughly I took some before shots for reference; check out the blotches. The only thing you can do to remove these spots is polish the paint down to get to deeper, better paint, then do a better job than me to protect it going forward. The tools for this job were all Griot's Garage products; there are plenty of options out there as many of you know, but since I've bought plenty from GG over the years I decided to invest in their orbitals, pads and products. Machine Polish #2 (light scratches/moderate oxidation), One step sealant (includes mild polish) and Best in show Wax was the lineup. I could've gone coarser with the cut, but not knowing how thick this paint is and being somewhat limited with time, I stuck with this combo to get a solid level of protection for the summer.


After claying the surface clean I started polishing sections of the car starting with the hood. I had a couple scratches and etched paint spots I went at with hand polish first to see what areas would need more effor than others. I also taped off all the trim and wiper arms to keep from having to clean those up later. GG polishes get hard to remove quick so you want to wipe residue off while the polish is still liquid. After a couple passes on each panel I called it a day.


The color was substantially better, but it was completely vulnerable outside, so I put it in the VIP room for a controlled environment. Thunderstorm watch was on the forecast...

Wednesday, May 25, 2011

The Red Coupe - Takin' it on the chin Pt. 2

The following day I went outside to run the car while inspecting the damage by sunlight and things were about what I expected. The radiator didn't leak while running which was good, but the driver side fender lining lost an attachment point with the impact so that was something else added to this list of things needing replacement. The foglights didn't turn on after hitting the raccoon (I testing it shortly afterwards while driving), even on the side not hit so this would need to be checked out once I got access to a lift. One problem that stood out pretty quickly was that the sheet metal that the front apron bolts to behind the front brake ducts was pushed pretty far back from where it should be.


Once my day off came I got the car over to Euromotive to get a professional opinion while up in the air. I made sure to bring my heavy rubber mallet and 20oz hammer with me to take advantage of the lift time. Thankfully I got into the bay quickly and after the radiator was confirmed sound I asked if I could step into the octagon with my front apron; they obliged.

I'm no body guy, but I knew what needed to be done. I didn't have special tools, but I was ok with putting in work with what I had. Pretty wasn't a concern for support metal, so I proceeded to work from the minimum effort needed up to where I needed to be in order to bang things back to normal. First I pulled the apron back out enough to remove the driver-side foglight, then took both ducts and fogs off the car. I inspected the foglight wiring, which didn't appear to have any damage, but since the plugs for them had no tabs anymore I'd have to rule out loss of 'contact' later on. After inspecting where things were bent, I started swinging for the fences with the rubber mallet. Being able to raise and lower the car for leverages sake helped a bunch. Once I got some room I began working the apron attachment point in the underlying sheet metal.

This is the 'good' side I needed to match...seems like this has been done before.
About halfway done with the bad side.
'Nothing to see here' finished product.

As you can see, I made the mounting panel alignment as close on both sides as possible. Banging the apron back into somewhat it's original shape helped that process tremendously; once things 'opened up' I used the prying fork of the hammer to fine tune.

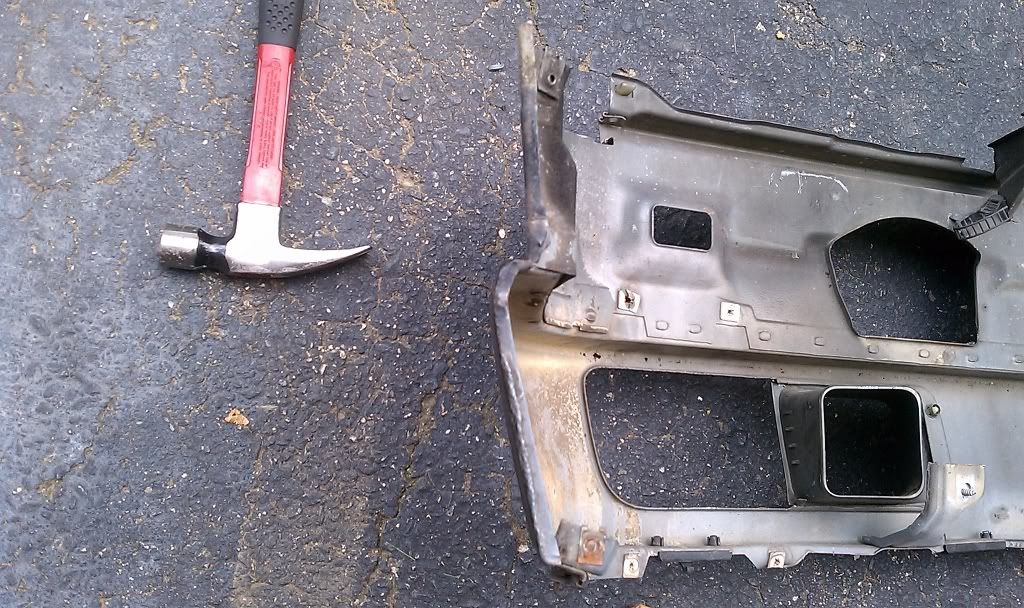
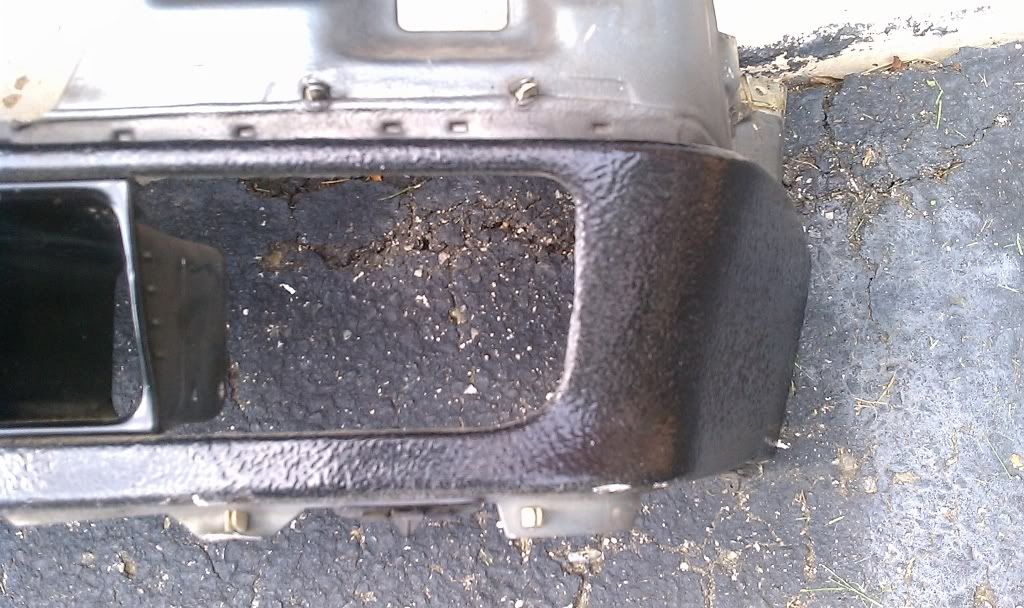
Now that the car was taken care of, I had another task to tackle. The day before I had worked out an arrangement to pickup a nused apron and fogs...locally! The car gods definitely smiled on me. The price was right and the seller, Rob, was an enthusiast a little older than myself; a good dude that was in the middle of an interesting e30 project of his own. The apron was solid overall, but needed a little bit of help; it came from a car that must have bottomed out on something going off the mild bend that it had on the driver-side. It also had a small lump that resulted from it bending akwardly in that location. I measured both sides of the apron and found the 'good' side was about 3/4" longer than the bent side. I then got to work, straightening all the fog mounting tabs, removing broken front lip clips and hammering the contour back in the the apron.

What the apron edge should look like
What the bad edge looks like
Rounded contour on the wheel well side
After the massage:


Once completed, both sides were within 1mm of each other in length. Since this apron will be cleaned up and resprayed (obviously), I could work on some metal-working techniques. E30 front apron metal is a thick gauge so it's pretty hard to screw up even for an amateur. Now that my pre-bodyguy drop-off prep was done I need a new lip, lip clips and to get everything sprayed; then I can get myself back to where I was...a week ago. The good news is I wanted to respray my front bits and spare front bumper anyway, but the bad news is that I didn't want to do it this soon (wallet) and possibly not at all since it just gets chipped every winter anyway. Regardless, it's time to make lemonade again.