
I got online in advance to get some ideas of what was ahead for front apron/valance removal and it didn't seem to be too much an issue, tool-wise, just something that would take some time. Thankfully I didn't try forcing it into my last weekend thrash, because it took me two afternoons to get everything together; so lets begin with the front bumper which needed to come off. As I stated before, I wanted to get the front bumper resprayed to compliment everything else new I acquired for the front end...lenses, trim, apron, etc. So on Friday, I got up early to get it removed so I could drop it off with Jason.
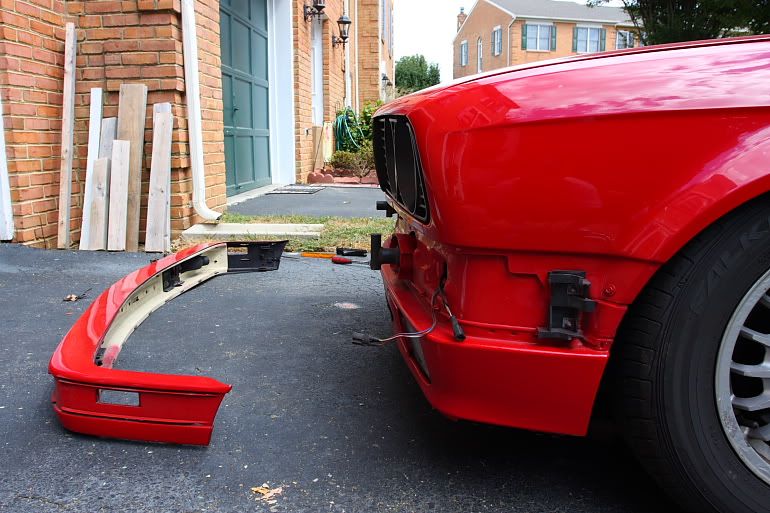
Removing the bumper was relatively painless, but if you plan on doing so I suggest you watch your fingers around the bumper guides. The only tool I needed required a quick trip up the block to AutoZone; a T-55 Torx bit and a 3/8"-1/2" adaptor for my ratchet (they didn't have 1/2" drive T-55s). I was going to remove the backing from the bumper also, but I decided against wasting borrowed time and being in need of more one-use clips and what-not to put it back together later. The most important thing about having the front bumper off was trying to determine what made the bumper not quite line up perfectly on the pass side.

After dropping off the bumper and returning home, I made quick work of unscrewing everything holding the front apron on. I made sure to disconnect the foglight cables and all the beat-up fender liner/brake duct trim as well. I really need to get a few car jack stands for the house, but I got creative in the interim. While everything was apart I made sure to take pics of the position of everything in case I needed reference later on. The old apron was now removed so I started removing reusable parts and prepping my pretty painted replacement apron which was waiting in the wings.

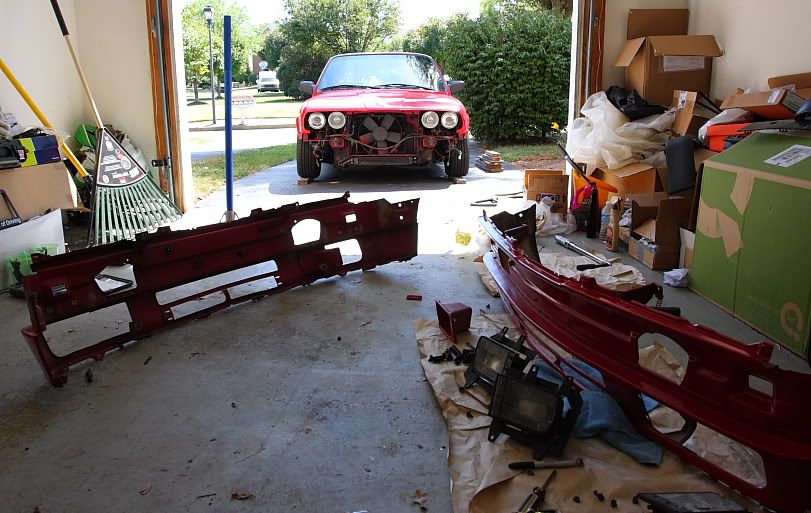
The next problem was that I over looked a few things on the replacement apron when I bought it; it was in bad need of some of those little green grommets that attach the oil-cooler cover piece as well as the brake ducts. I also needed some screws and clips needed to attach my new inner fender duct panels. My left-right misunderstanding reared it's head again as the fender liner I got was for the pass-side, not the driver-side (even#-passenger/odd#-driver). Of course both were trashed so I did need to replace both, but gd the nickle and dimin'. I feel another parts order comin' on.
No comments:
Post a Comment