
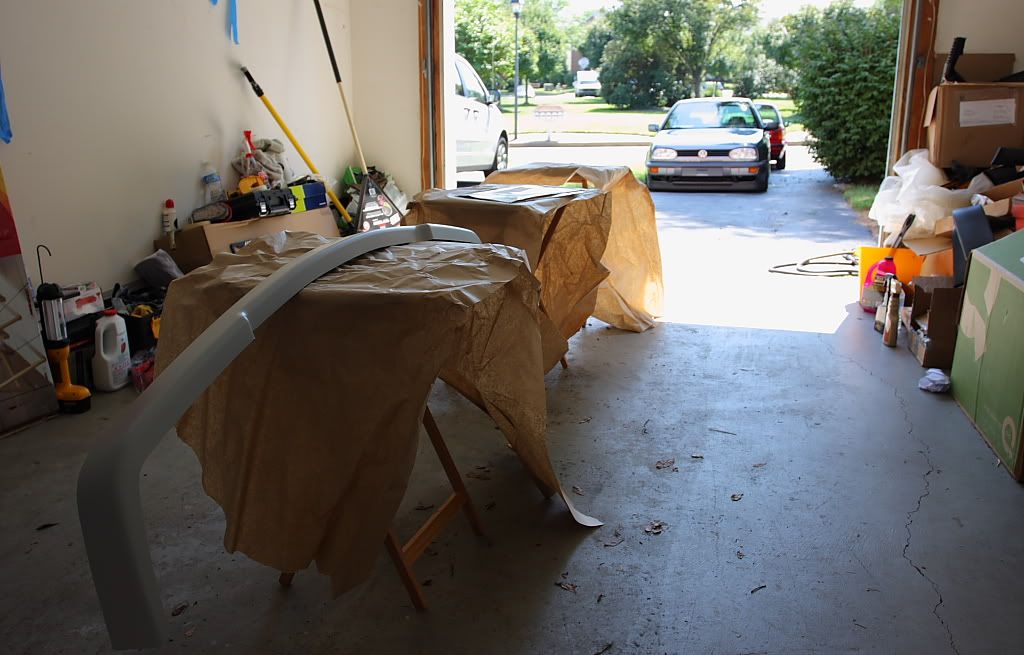
One thing I love to do for my projects is have a variety of parts options to switch up the look on a whim. As you can see, I got a second 'is' lip (since they're so cheap right now - thanks Blunttech) to paint satin black for daily driving duties. The color matched one will be more for warm weather usage. The great thing about this factory lip is that it comes primer coated already, so i got right down to business with the light initial coats to get the party started. I was a few passes in before I decided to cover my face ha.
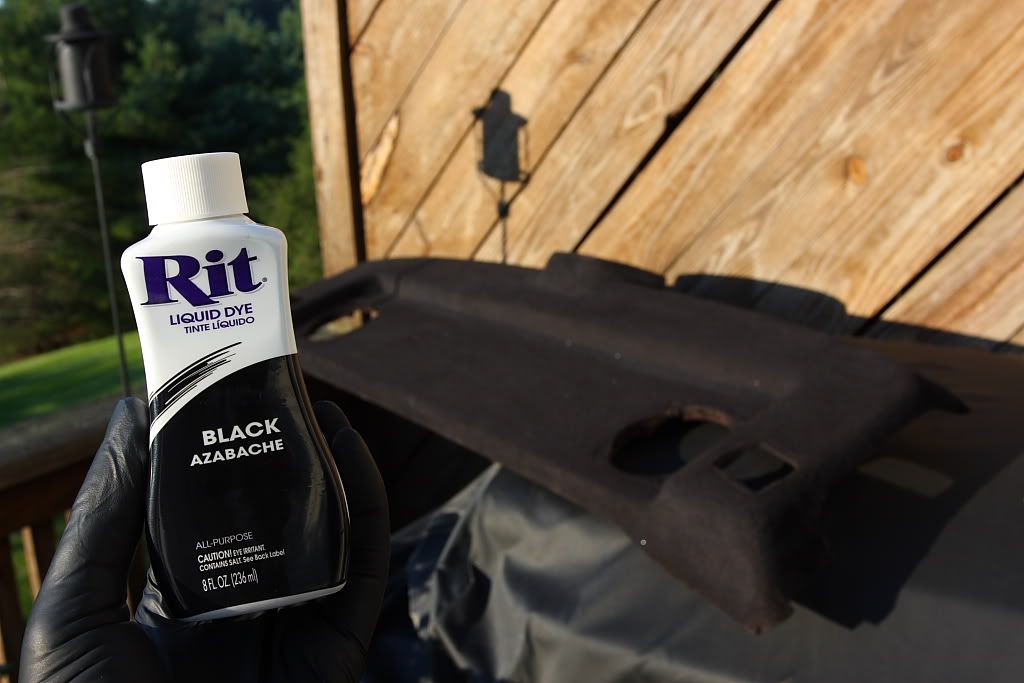
While I put layers on the front lip every 15-30 minutes I was heating up water on the kettle to mix with my dye for the spray bottle. The box my lip came in helped me not make a complete mess of the garage floor. I made one solid soaking pass of dye on the parcel shelf, then set it up in the sun so it could dry before the next. I could see getting rid of the tan would take some work, but I was prepared to run without a rear seat and speakers for as long as it took to get it to look good.
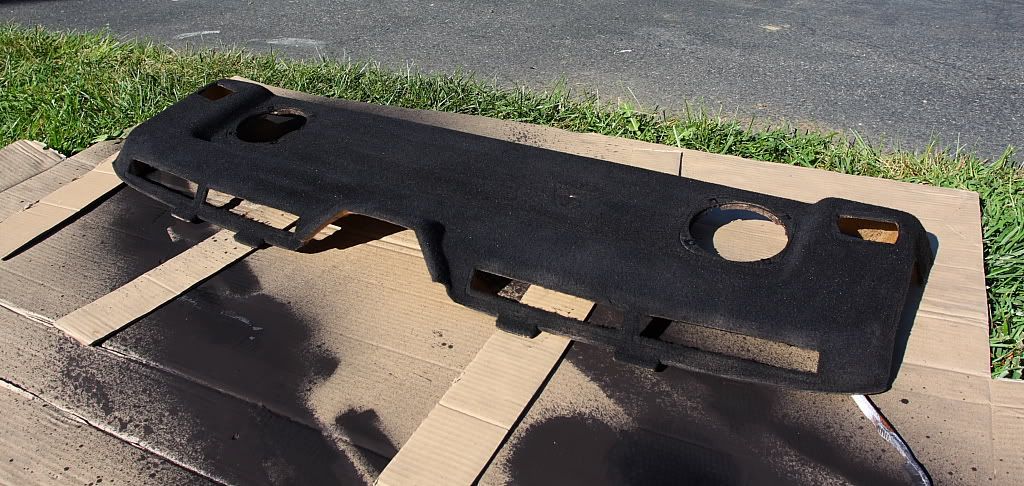
After about three coats it was looking pretty good. After looking at it dry the following day, however, it appeared my desired result would need another pass or two. Thankfully the weather has been hot and sunny; it got plenty opportunity to bake the color in.
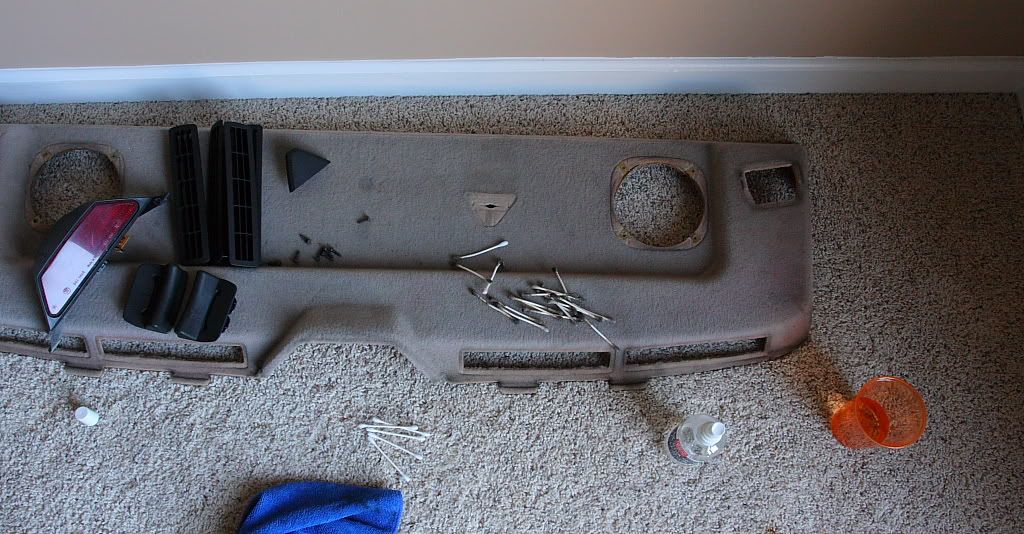
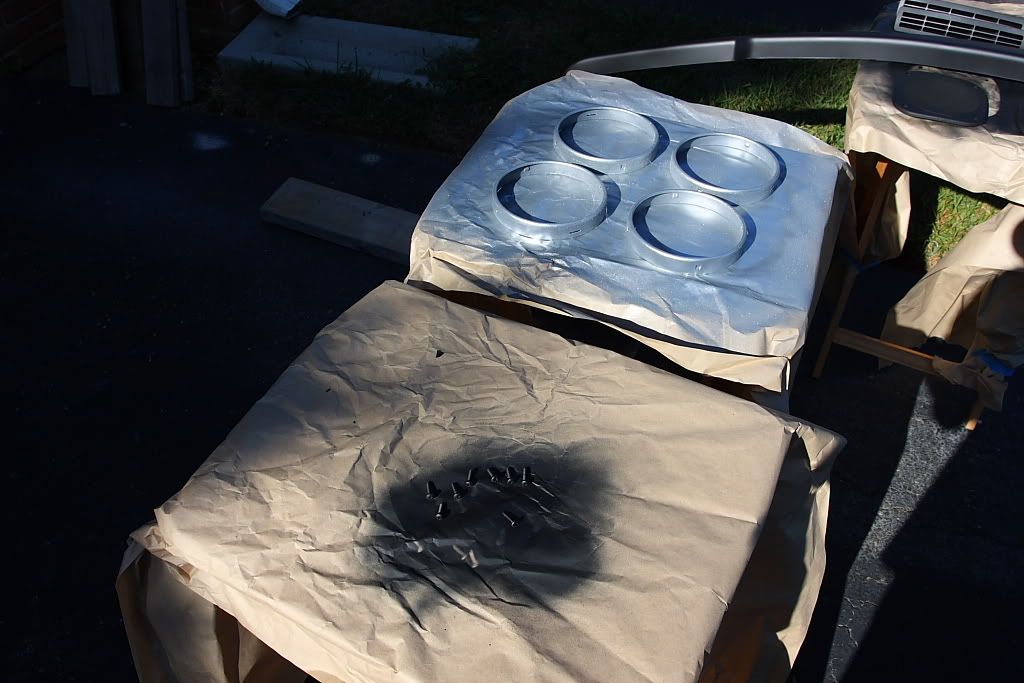
Before the dye job got started I had to clean all the parts of the parcel shelf; trunk vents, speaker covers, screws for the speaker covers. I cleaned up everything with window cleaner and a microfiber towel and took Q-tips to the vents for added clean detail; warm water in a cup to rinse the solvent away. I then took a little satin black to em to get them good and dark again. It's the little things that go the furthest. While I was at it, I sanded the screws down and sprayed them with matte black Rustoleum. I did the same thing for the rusty grill and door handle screws afterward.

For the doorhandles I ended up using 'Back to Black' restorer instead of paint, but I think I'll be using paint after this wears off...maybe sooner. I don't like shine much, but it is a good product...you just have to buff the hell out of it to tone the gloss down. The next thing on the list was the headlight rings. The PO painted em black, but that was all chipped to sht from years of neglect. I threw some 120 grit at em' and coated them with Rustoleum primer. I wanted a bit lighter of a final color so I drove 300 yards over to the new Autozone they just opened around the corner (thank god, the next closest auto store is about 20 miles away) and picked up a can of GM silver metallic; it was the lightest silver they had. It looked like a NASA space suit from the first trip to the moon at first, but once installed looked just how I wanted it to.

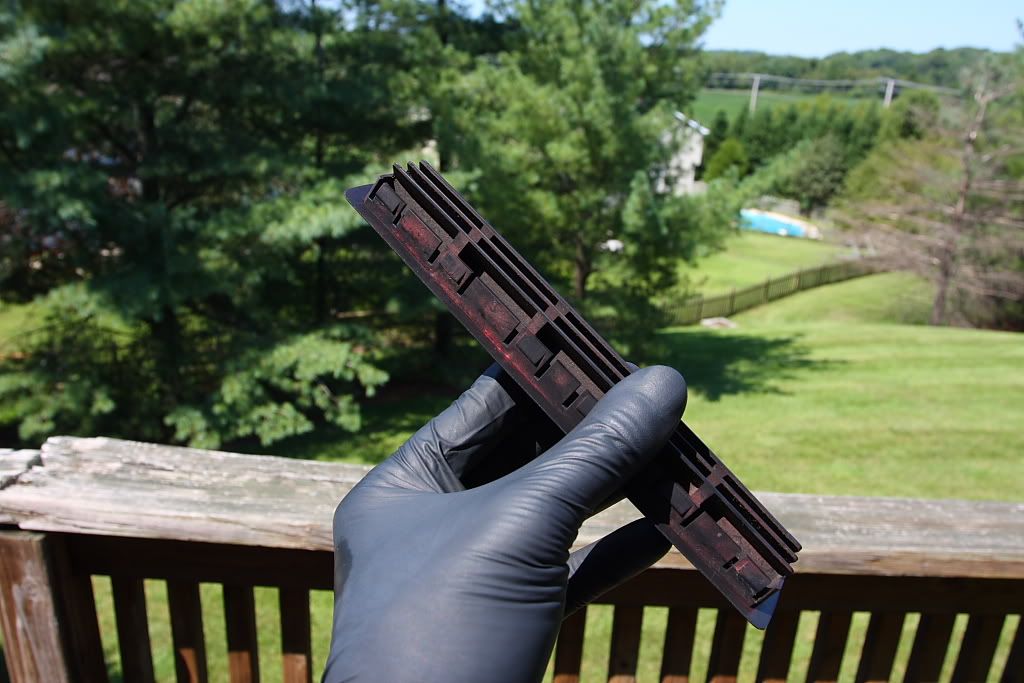
I had some drankin' to do with friends Saturday evening so Sunday afternoon, hung over, I put back the front bumper trim I had taken off, hoping to swap front aprons on Friday, back on. I got it on pretty good compared to what it was; all the broken trip clips were mainly to blame for that (new front trim on the way thanks to blunttech). Then I did a rushed aka half-assed job putting on my driver-side door handle and drove to work, hot, sweaty, salty and a little dizzy to be honest ha. That August sun sneaks up on ya. Anyways I put another good coat of dye on the parcel shelf before leaving and put it back on the gangsta grill for the lady to take off after sunset. The front apron swap will have to wait for another day.
No comments:
Post a Comment