
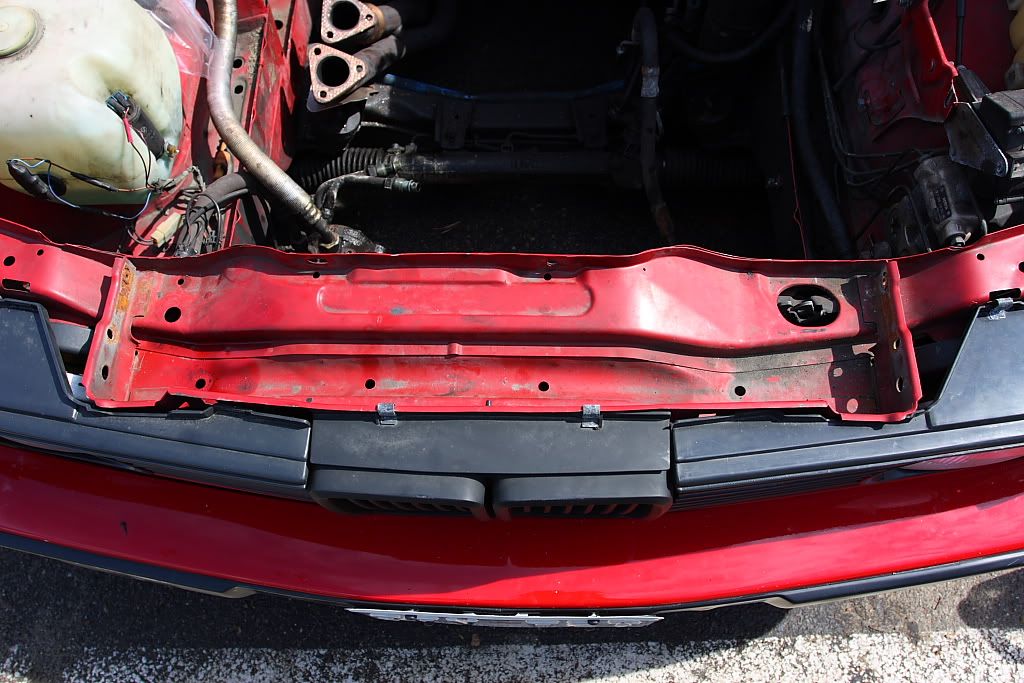
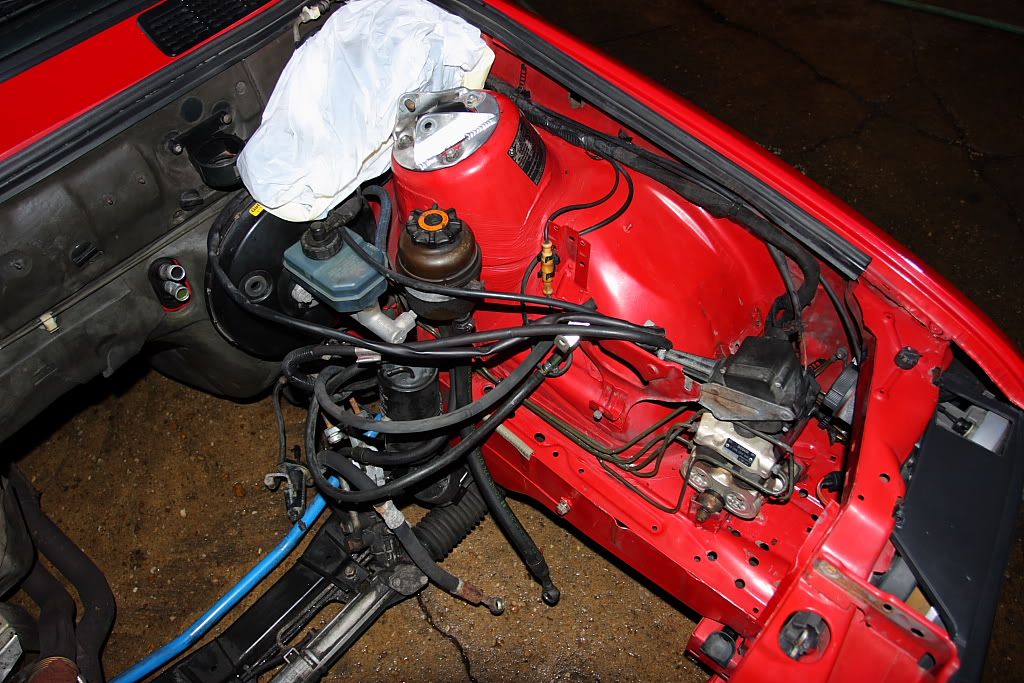
The first thing I tackled was cleaning the engine bay. I went through and covered up as many frayed wire connectors, as well as all the important electrical components, as I could. Then I removed the windshield washer and coolant reservoirs. I started off with soap and water for the upper areas, then followed up with multiple cycles of Spray 9 with a coarse brushing, then (hand powered) high pressure water blasting afterwards. This was a long, greasy, task which ended up taking the lions share of my time. Between old power steering fluid that has sludgified with road dirt and seeping seal run-off, there was a good coating of black everywhere you could think of. After surface cleaning was wrapped, I took my engine mount brackets to the parts cleaner then mocked them up in the bay with the new mounts. Here's a good ol' fashioned before and after of the results.
Before:


After:

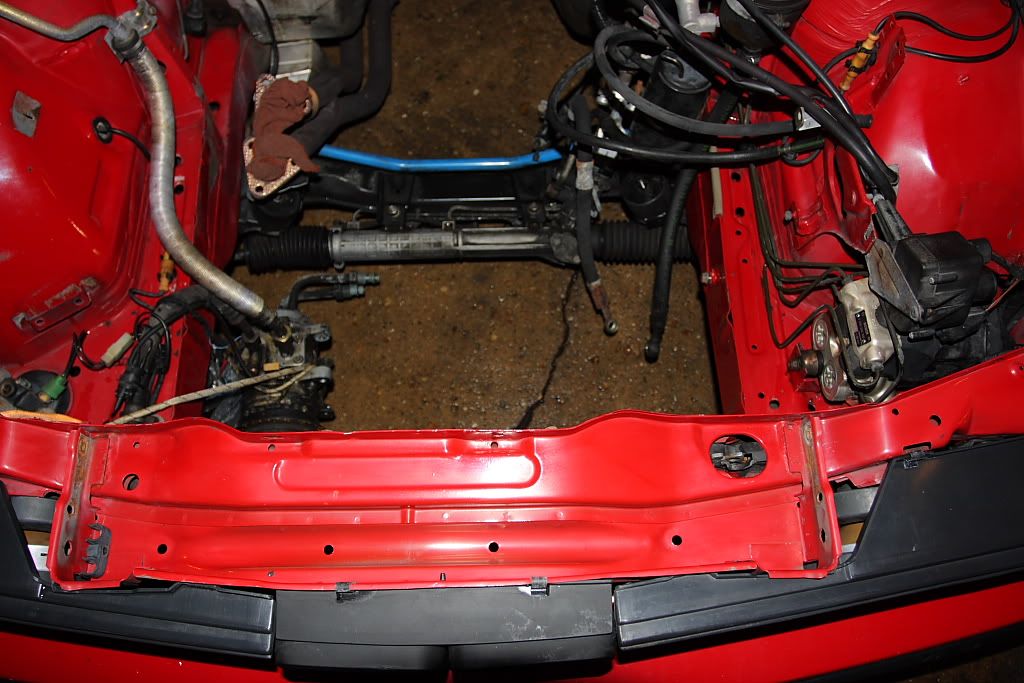
Tim and I went to town with Griot's hand polish and 3M rubbing compound after drying the bay, and the results were pretty damn pleasing given the fact this was all original paint. Once all this was complete I attempted to get my powder-coated intake manifold and valve cover on the new motor. The intake manifold swap wasn't as easy a task as I imagined, so after thorough picture taking and removal of wiring and nuts, I stopped work after removing the intake manifold.

During this bay cleaning afternoon I took a running tally of parts that we would need going forward; all gaskets for the intake manifold, throttle body and thermostat housing. Lower snap in guides for the radiator. Upper radiator bracket, which was cracked but fully functional (a new one was only $5 bucks so why not). And a new snap on cover for that little box next to the fuse box that appears to be a diagnostic port, but isn't...I'll clarify during the next episode.
No comments:
Post a Comment