

Friday, September 10, 2010

Thursday, September 9, 2010
Quick Vid: Porsche Bloodline
Porsche works driver Patrick Long goes over a quick history of the brand and it's vision still being held up and pushed forward in the automobiles of the current day.
Video Courtesy of worldcarfans channel on Youtube.
Video Courtesy of worldcarfans channel on Youtube.
What to watch this weekend (Sept 9th - 12th)
- Battle of the Supercars - Audi V10 vs. GT-500 (replay). Thursday @ 10pm - 10:30pm (SPEED/SPEEDHD)
- Formula 1 - Italian Grand Prix; Autodromo Nationale de Monza. Qualifying. Saturday @ 8am - 9:30am (SPEED/SPEEDHD)
- Rolex Sports Car Series - Miller Motorsports park in Salt Lake City, Utah. Saturday @ 2pm - 4:30pm (SPEED/SPEEDHD)
- Formula 1 - Italian Grand Prix; Autodromo Nationale de Monza. Race. Sunday @ 7:30am - 10:00am (replay at 1pm) (SPEED/SPEEDHD)
- D1 Grand Prix - Round 2 from Oita, Japan. Sunday @ 6pm - 7pm (SPEED/SPEEDHD)
- Isle of Man TT - The Monster Supersport TT Race 1. Monday @ 9pm - 10pm (Discovery's High Def Theater)
 |
| Photo courtesy of Motorian.it |
Wednesday, September 8, 2010

The Red Coupe - Details, Details, Details Pt. 2
Welcome to my paint booth...the garage of doom.
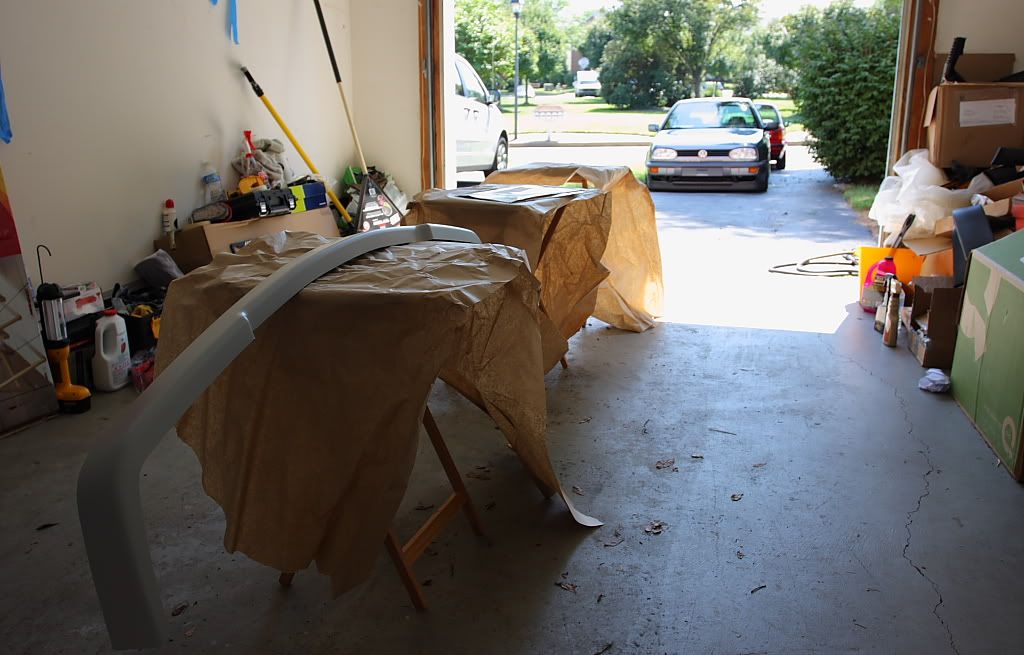
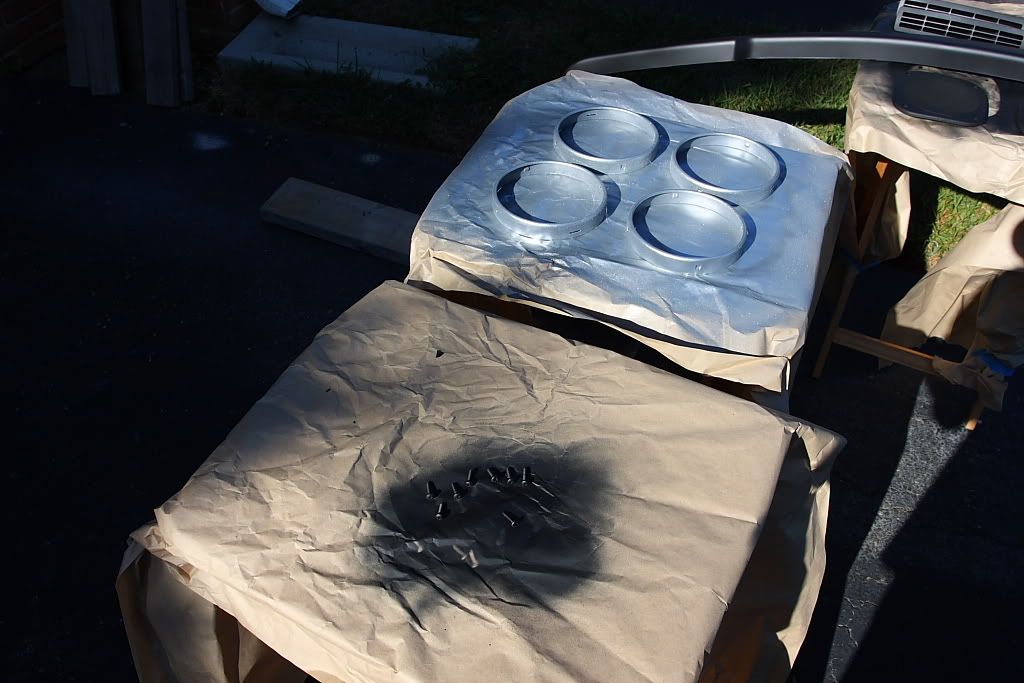
One thing I love to do for my projects is have a variety of parts options to switch up the look on a whim. As you can see, I got a second 'is' lip (since they're so cheap right now - thanks Blunttech) to paint satin black for daily driving duties. The color matched one will be more for warm weather usage. The great thing about this factory lip is that it comes primer coated already, so i got right down to business with the light initial coats to get the party started. I was a few passes in before I decided to cover my face ha.
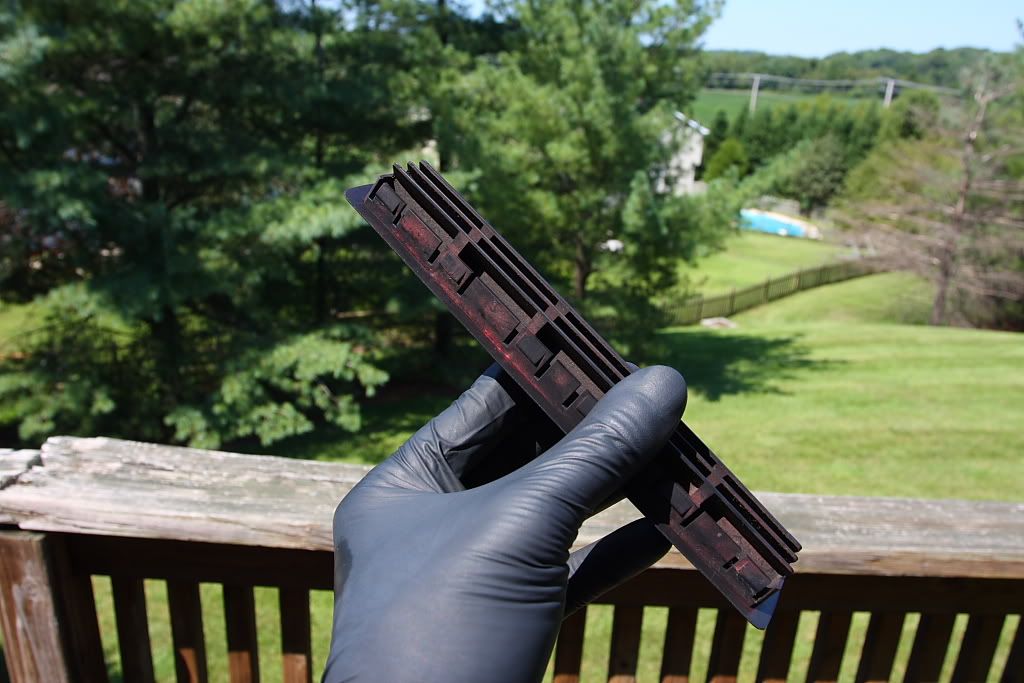
While I put layers on the front lip every 15-30 minutes I was heating up water on the kettle to mix with my dye for the spray bottle. The box my lip came in helped me not make a complete mess of the garage floor. I made one solid soaking pass of dye on the parcel shelf, then set it up in the sun so it could dry before the next. I could see getting rid of the tan would take some work, but I was prepared to run without a rear seat and speakers for as long as it took to get it to look good.
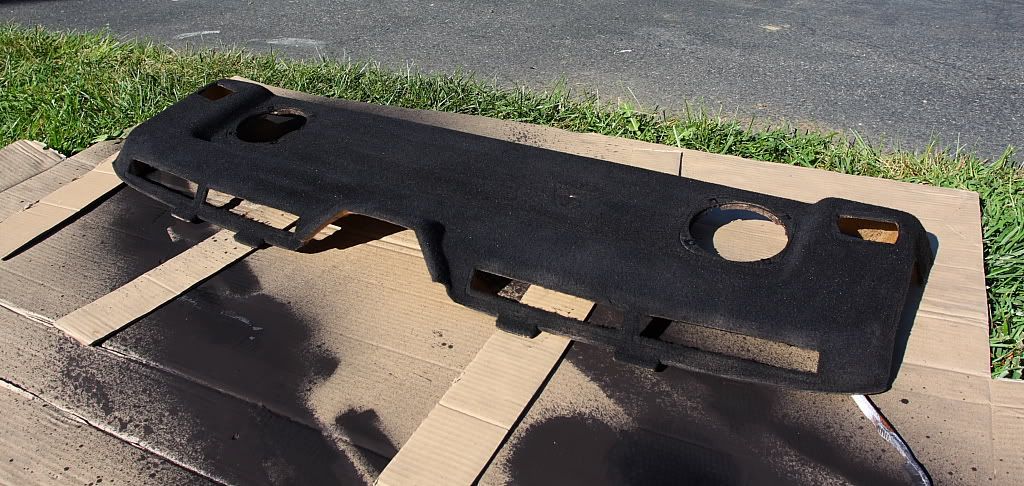
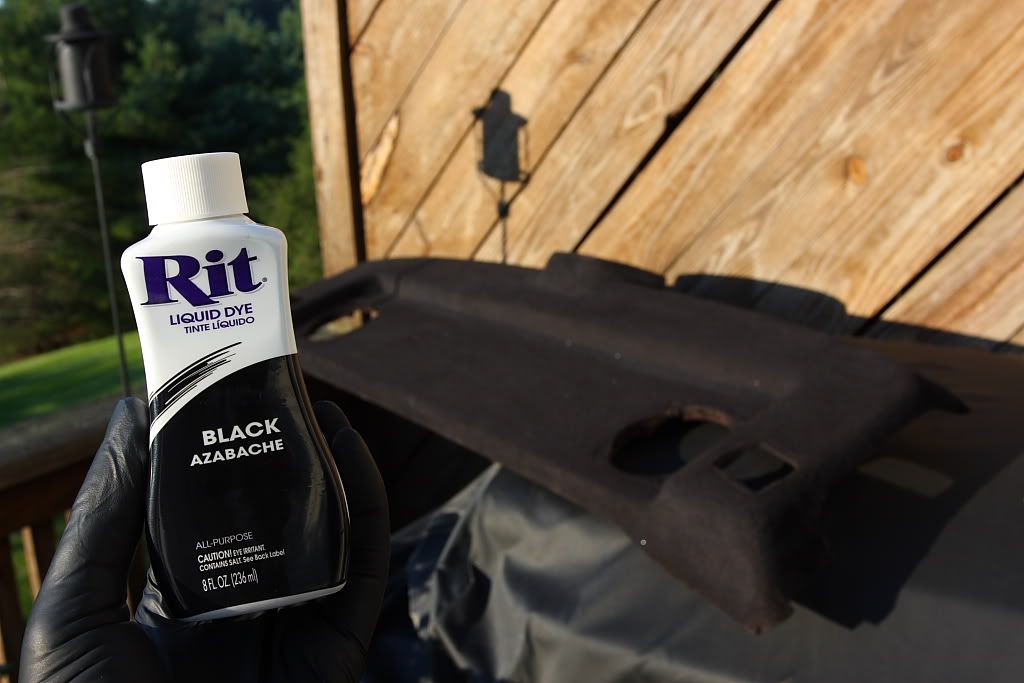
After about three coats it was looking pretty good. After looking at it dry the following day, however, it appeared my desired result would need another pass or two. Thankfully the weather has been hot and sunny; it got plenty opportunity to bake the color in.
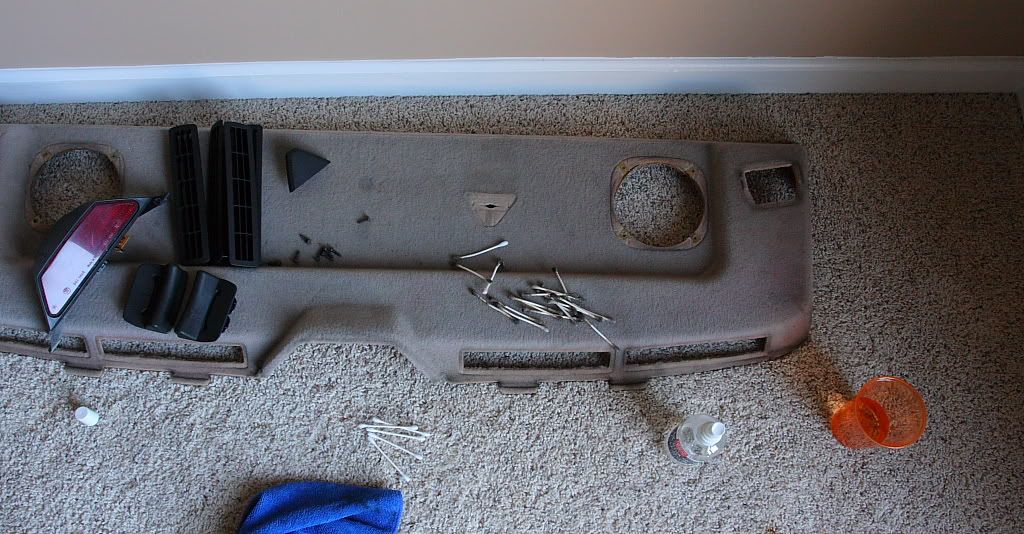
Before the dye job got started I had to clean all the parts of the parcel shelf; trunk vents, speaker covers, screws for the speaker covers. I cleaned up everything with window cleaner and a microfiber towel and took Q-tips to the vents for added clean detail; warm water in a cup to rinse the solvent away. I then took a little satin black to em to get them good and dark again. It's the little things that go the furthest. While I was at it, I sanded the screws down and sprayed them with matte black Rustoleum. I did the same thing for the rusty grill and door handle screws afterward.


One thing I love to do for my projects is have a variety of parts options to switch up the look on a whim. As you can see, I got a second 'is' lip (since they're so cheap right now - thanks Blunttech) to paint satin black for daily driving duties. The color matched one will be more for warm weather usage. The great thing about this factory lip is that it comes primer coated already, so i got right down to business with the light initial coats to get the party started. I was a few passes in before I decided to cover my face ha.
While I put layers on the front lip every 15-30 minutes I was heating up water on the kettle to mix with my dye for the spray bottle. The box my lip came in helped me not make a complete mess of the garage floor. I made one solid soaking pass of dye on the parcel shelf, then set it up in the sun so it could dry before the next. I could see getting rid of the tan would take some work, but I was prepared to run without a rear seat and speakers for as long as it took to get it to look good.
After about three coats it was looking pretty good. After looking at it dry the following day, however, it appeared my desired result would need another pass or two. Thankfully the weather has been hot and sunny; it got plenty opportunity to bake the color in.
Before the dye job got started I had to clean all the parts of the parcel shelf; trunk vents, speaker covers, screws for the speaker covers. I cleaned up everything with window cleaner and a microfiber towel and took Q-tips to the vents for added clean detail; warm water in a cup to rinse the solvent away. I then took a little satin black to em to get them good and dark again. It's the little things that go the furthest. While I was at it, I sanded the screws down and sprayed them with matte black Rustoleum. I did the same thing for the rusty grill and door handle screws afterward.
For the doorhandles I ended up using 'Back to Black' restorer instead of paint, but I think I'll be using paint after this wears off...maybe sooner. I don't like shine much, but it is a good product...you just have to buff the hell out of it to tone the gloss down. The next thing on the list was the headlight rings. The PO painted em black, but that was all chipped to sht from years of neglect. I threw some 120 grit at em' and coated them with Rustoleum primer. I wanted a bit lighter of a final color so I drove 300 yards over to the new Autozone they just opened around the corner (thank god, the next closest auto store is about 20 miles away) and picked up a can of GM silver metallic; it was the lightest silver they had. It looked like a NASA space suit from the first trip to the moon at first, but once installed looked just how I wanted it to.
I had some drankin' to do with friends Saturday evening so Sunday afternoon, hung over, I put back the front bumper trim I had taken off, hoping to swap front aprons on Friday, back on. I got it on pretty good compared to what it was; all the broken trip clips were mainly to blame for that (new front trim on the way thanks to blunttech). Then I did a rushed aka half-assed job putting on my driver-side door handle and drove to work, hot, sweaty, salty and a little dizzy to be honest ha. That August sun sneaks up on ya. Anyways I put another good coat of dye on the parcel shelf before leaving and put it back on the gangsta grill for the lady to take off after sunset. The front apron swap will have to wait for another day.
Tuesday, September 7, 2010
Yo!
I'll be throwing some stuff up here from time to time, but for now I'm just checking in to say hey. Be back soon to talk motorsports; I've got a little yarn I'd like to spin.
The Red Coupe - Details, Details, Details Pt. 1
I finally got the weekend time free (and more importantly the weather) I needed to put in some major work on some of the small nagging things I needed to clean up on the car. Of course I have a few more things in need of paint, but in the meantime between time, I had everything I needed to get some major chores checked off. This was the mini to-do list I whipped up for myself for the weekend:
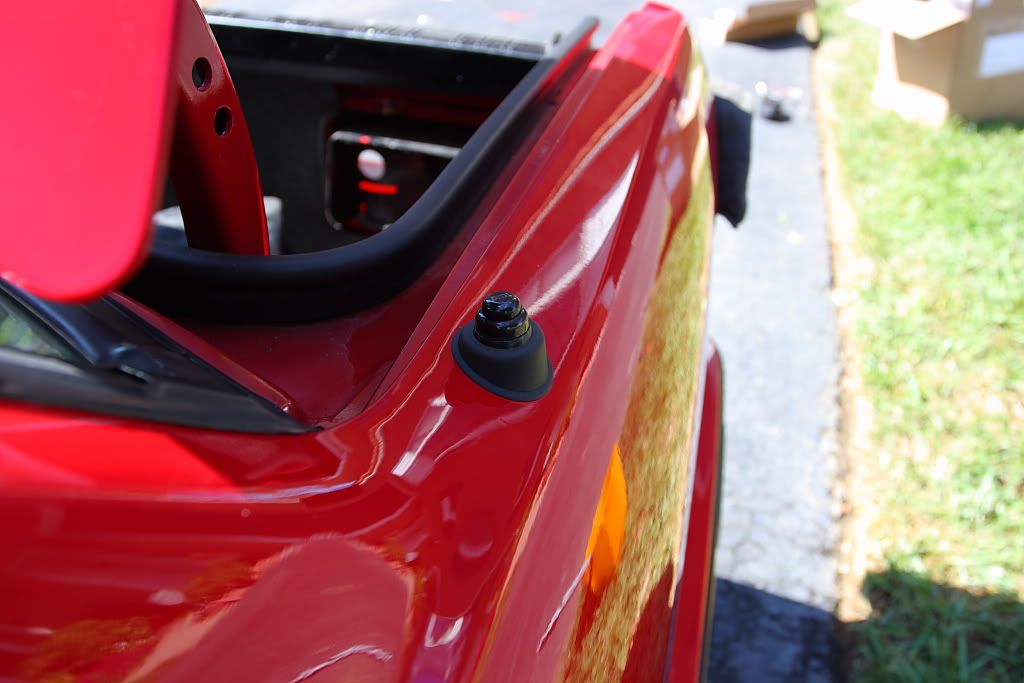
Upon wrapping up the wash I rolled right into installing the new power antenna I purchased the week before. My antenna has been a pain in my ass since I bought the car; the stars would have to align just right for it to go up and all the way back down when I turned the radio off. Rather than swap in a fixed mast which would have been perfectly fine, I wanted things to be as close to original as possible and an antenna that went up and down was a big thing for cars of this vintage.There were three options for replacements, all of which were a relatively small amount (for something that would be there working properly for the next 5+ years): (1) replacing just the mast (2) for 15 bucks more just getting exact same complete power antenna unit already in the car or (3) getting the self adjusting power antenna upgrade Hirschmann made for the e30, for another 90. I decided to splurge and get the best of the options #3, but got it for ~40 bucks less than everywhere else via Partsgeek.

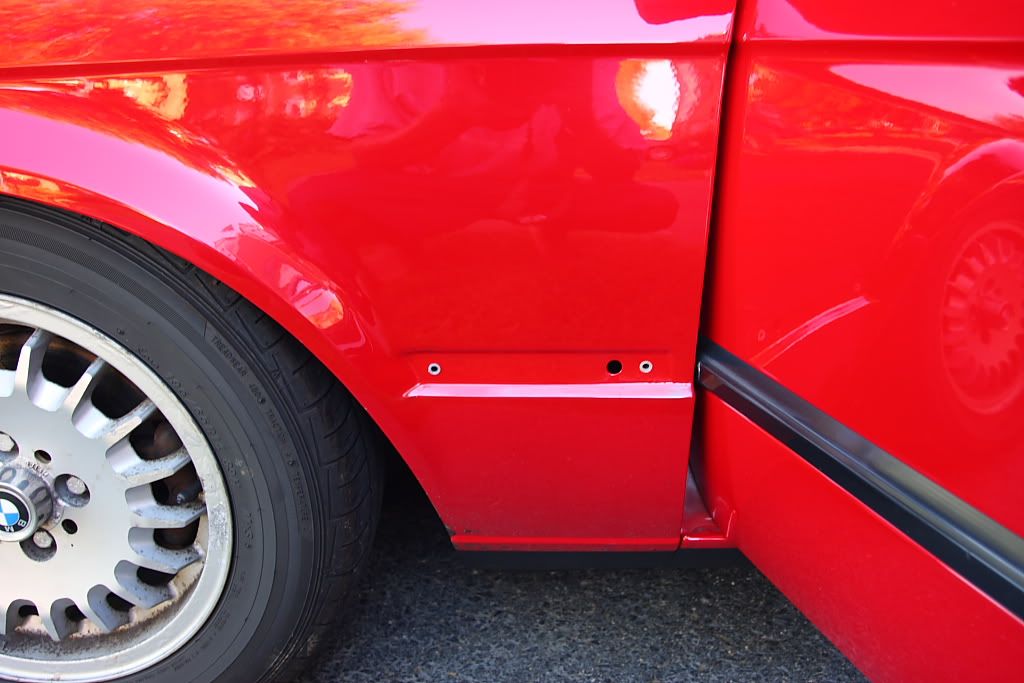
The installation was pretty straightforward, I just had to modify the support bracket with some elbow grease to get the right angle. For all the shadowline-ing done to this car since acquiring it, this was especially pleasing.
Since I wouldn't be able to get to everything I wanted to accomplish on Friday, I tried my best to set myself up for Saturday which would be paint day. The sun was dropping fast after all the cleaning was done, so I made sure to at least take my back seat apart so I could not only add some missing hardware upon re-install but more importantly get my parcel shelf out for the dye job.
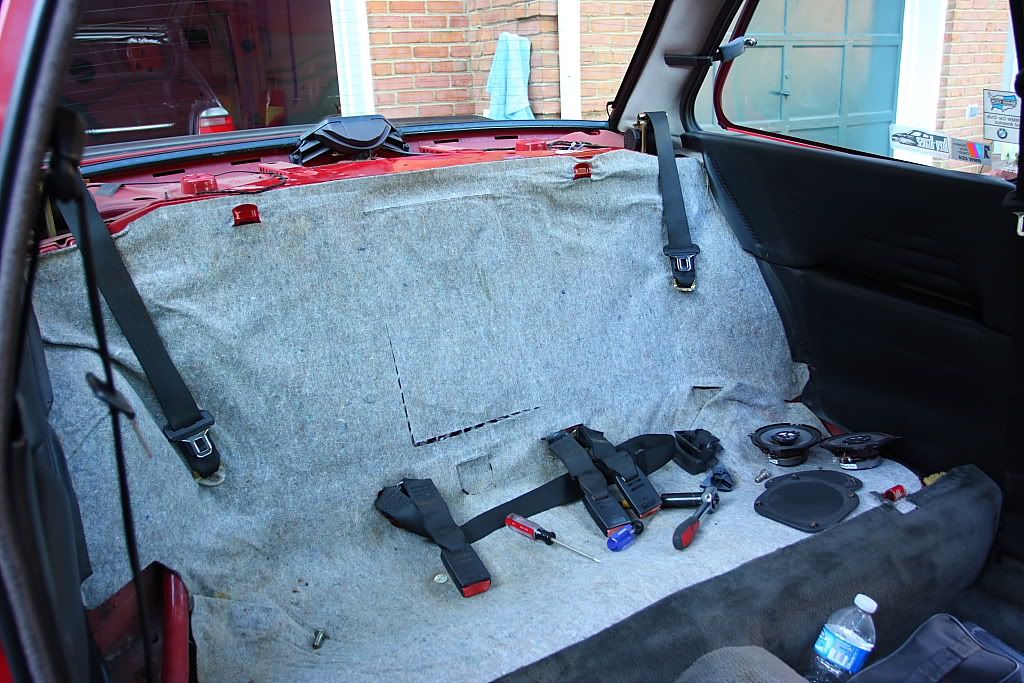
More an more evidence of the previous paint job rears it's ugly head as I took everything apart. Even more interesting is that I found uncut raw diamonds in a some crevices on the passenger side crease under the doorcard! Well actually it was bits of shattered glass. This car has definitely had an interesting past. The greatest thing of all this removing of the parcel shelf did for me wasn't a history on the car, rather it was the access it gave me to clean some odd spots I could never get to previously.
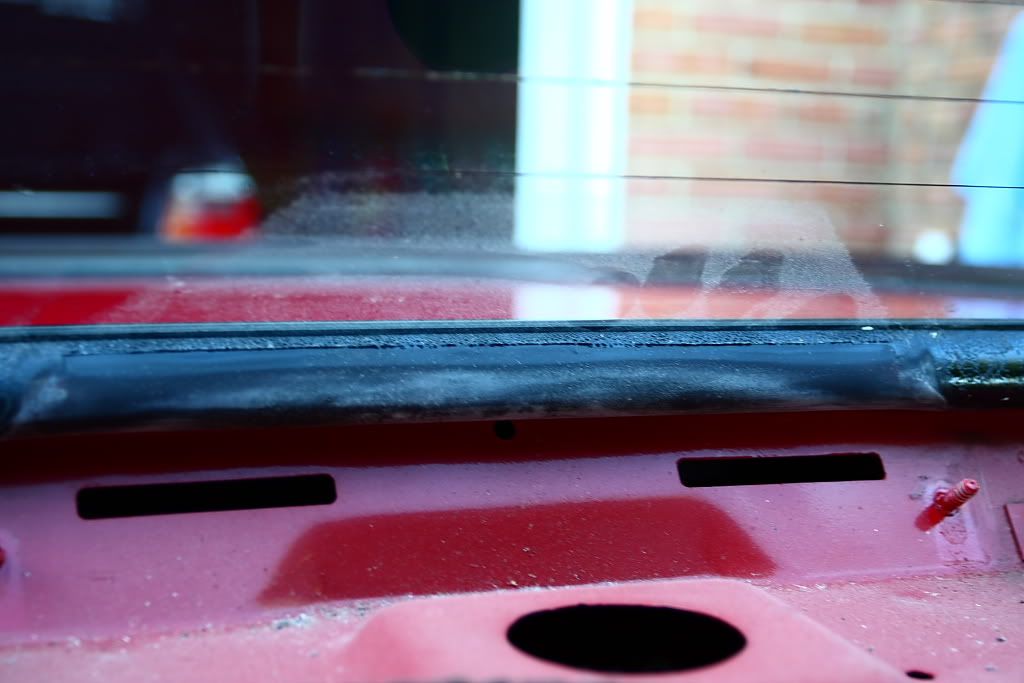
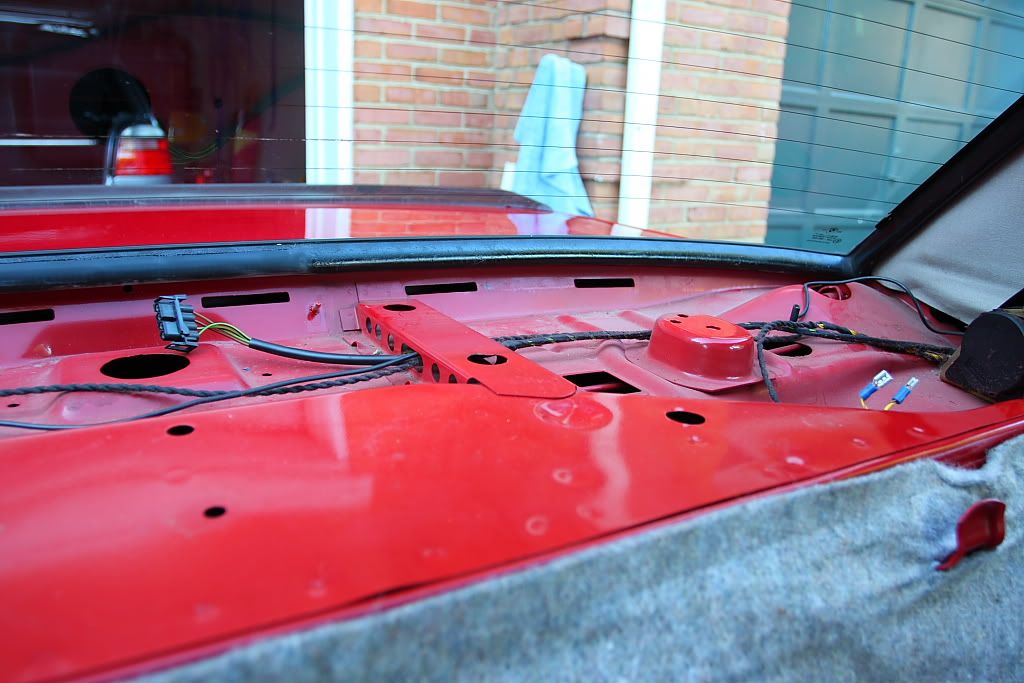
Oh so sweet it was, taking a cleaner dampened microfiber towel to all the old paint residue and the fingerprint marks that have taunted me for months. A great relief for the ocd bug inside me. The metal under the parcel shelf was filthy so I took the time to clean this as well (I'll double down with adhesive remover later). Dog hair and lint in abundance.
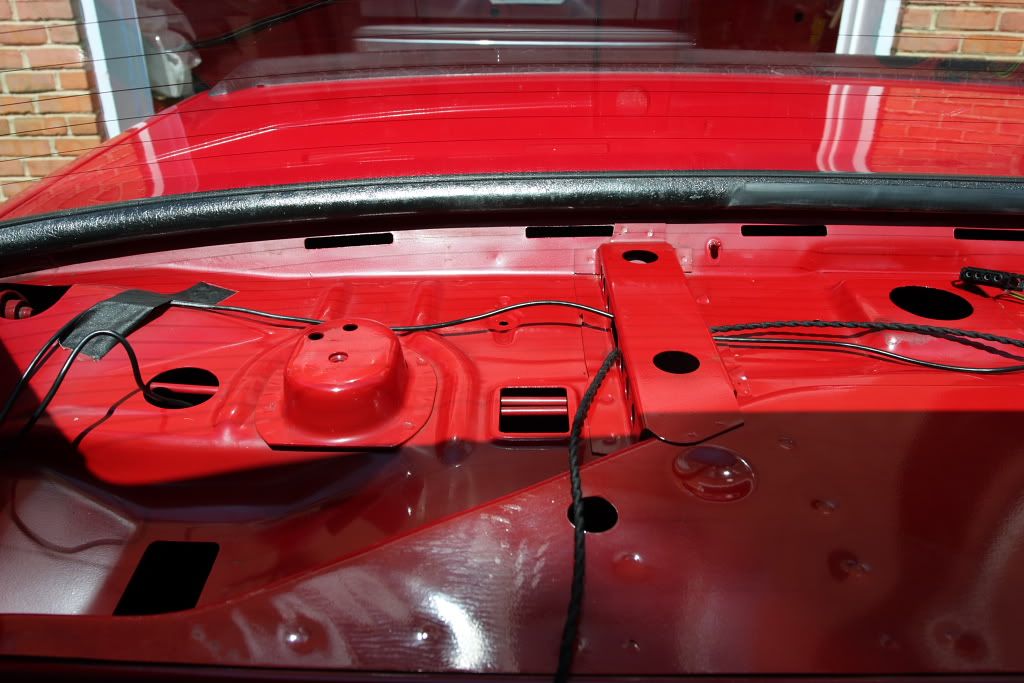
Now I have a clean slate on another portion of the car. Awesome. Now I just need to rig up a paint booth...
- remove front bumper to see what's making my car smirk
- remove front apron after trying to get things to line up better and swap in replacement
- remove rear parcel shelf and dye it black
- align metal trim on driver side door
- touch up the black trim (mhmm) and paint chips
- replace antenna
Upon wrapping up the wash I rolled right into installing the new power antenna I purchased the week before. My antenna has been a pain in my ass since I bought the car; the stars would have to align just right for it to go up and all the way back down when I turned the radio off. Rather than swap in a fixed mast which would have been perfectly fine, I wanted things to be as close to original as possible and an antenna that went up and down was a big thing for cars of this vintage.There were three options for replacements, all of which were a relatively small amount (for something that would be there working properly for the next 5+ years): (1) replacing just the mast (2) for 15 bucks more just getting exact same complete power antenna unit already in the car or (3) getting the self adjusting power antenna upgrade Hirschmann made for the e30, for another 90. I decided to splurge and get the best of the options #3, but got it for ~40 bucks less than everywhere else via Partsgeek.
The installation was pretty straightforward, I just had to modify the support bracket with some elbow grease to get the right angle. For all the shadowline-ing done to this car since acquiring it, this was especially pleasing.
Since I wouldn't be able to get to everything I wanted to accomplish on Friday, I tried my best to set myself up for Saturday which would be paint day. The sun was dropping fast after all the cleaning was done, so I made sure to at least take my back seat apart so I could not only add some missing hardware upon re-install but more importantly get my parcel shelf out for the dye job.
More an more evidence of the previous paint job rears it's ugly head as I took everything apart. Even more interesting is that I found uncut raw diamonds in a some crevices on the passenger side crease under the doorcard! Well actually it was bits of shattered glass. This car has definitely had an interesting past. The greatest thing of all this removing of the parcel shelf did for me wasn't a history on the car, rather it was the access it gave me to clean some odd spots I could never get to previously.
Oh so sweet it was, taking a cleaner dampened microfiber towel to all the old paint residue and the fingerprint marks that have taunted me for months. A great relief for the ocd bug inside me. The metal under the parcel shelf was filthy so I took the time to clean this as well (I'll double down with adhesive remover later). Dog hair and lint in abundance.
Now I have a clean slate on another portion of the car. Awesome. Now I just need to rig up a paint booth...
Monday, September 6, 2010
Car Pron: Black Smoke Racing - W123 Drift
Some dude posted this video on a forum the other day and as soon as I saw it, I knew it more than made the cut. My parents had a grey W123 300TD estate that I drove through the end of high school. As it aged it got much slower. I always said it needed a kick in the pants so merging into traffic wasn't so scary, but I digress. Meet the Mercedes W123 estate drift-car for Black Smoke Racing; a drifting team/tuning outfit based out of Finland. Currently world-wide known with a feature in Top Gear Magazine. Enjoy the action on this lovely Labor Day Holiday.
Video courtesy of LatvianDrift on YouTube. Check out Black Smoke Racings YouTube channel here.
Video courtesy of LatvianDrift on YouTube. Check out Black Smoke Racings YouTube channel here.
Subscribe to:
Posts (Atom)